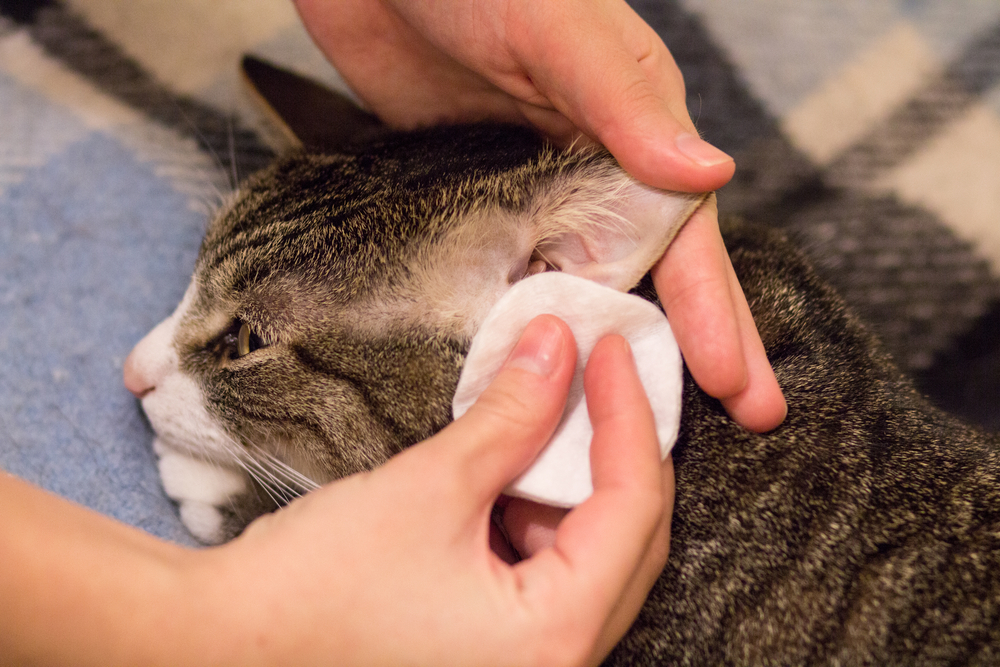
Whether your furry friend is a hound with droopy ears or a bulldog with wrinkly ears they need regular ear cleanings to maintain good otic health. Some pets may require ear cleanings as often as every week or two, while others can last a month or two between cleanings. To help ensure your pet’s ears stay healthy, follow our Animal Medical Hospital of Naples team’s step-by-step guide to ear cleaning.
Step #1: Gather your pet’s ear-cleaning supplies
Before you begin, gather all the necessary supplies so you won’t be left scrambling during the task. Your pet’s ear cleaning supplies include:
- Pet-specific ear cleaner that is medicated if necessary
- Cotton balls or pads
- Towel or washcloth
- High-value treats
Cotton swabs are not recommended, as they can push debris further into the ear canal rather than removing it. To wipe out debris from ear folds and crevices, use cotton pads or gauze squares.
Step #2: Prepare your pet
Before you begin, find a calm and quiet space in which to clean your pet’s ears. Sit or kneel beside your pet, or hold them on your lap if they are small enough, and gently reassure them with soothing words and soft strokes. Keeping your pet relaxed throughout the process minimizes stress and discomfort.
Step #3: Examine your pet’s ears
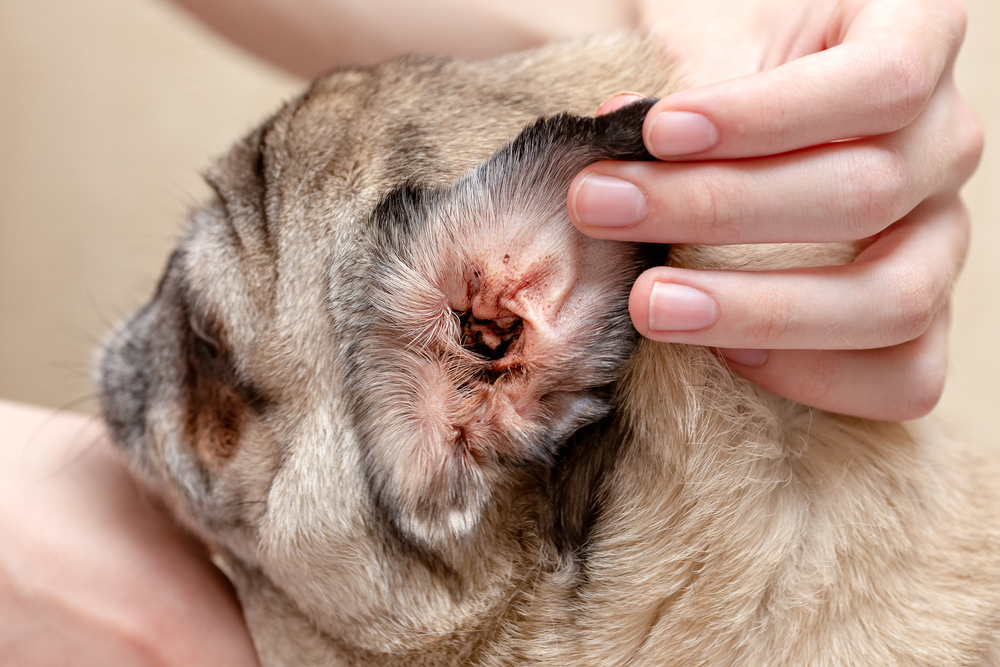
Before diving into cleaning, take a moment to examine your pet’s ears for irritation, redness, swelling, discharge, or foul odor. These signs could indicate an underlying ear infection or other health issues. If you notice any abnormalities, consult our Animal Medical Hospital of Naples veterinarian before proceeding with your pet’s ear cleaning.
Step #4: Apply the pet ear cleaner
Once you’ve inspected your pet’s ears and ensured they’re free from any visible problems, apply the ear cleaner. Follow the product label’s instructions carefully. Generally, you’ll need to hold your pet’s ear flap up and gently squeeze the recommended amount of cleaner into the ear canal. However, if your pet shies away from the chilling shock of liquid being poured into their ear, soak a cotton ball in the cleaning solution and place it in the ear canal. Massage the ear’s base for 20 to 30 seconds to help the cleaner penetrate deeply.
Step #5: Allow your pet to shake their head
After massaging the ear cleaner into your pet’s ear canal, allow your pet to shake their head. This vigorous action helps dislodge dirt, debris, and excess ear cleaner from the ear canal more than any other cleaning method. Be prepared for a little mess, and keep a towel or washcloth handy to clean up splatters.
Step #6: Wipe excess cleaner from your pet’s ears
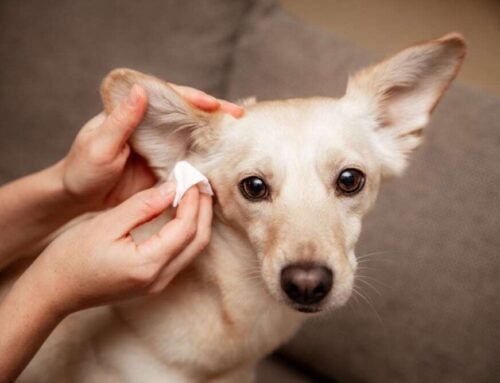
Once your pet has finished shaking their head, use a cotton ball or pad to gently wipe away any excess ear cleaner and debris from the outer ear canal. While pets have L-shaped ear canals versus the straight ones people have, they can still suffer from eardrum damage if you shove cotton swabs in too far. Stick to cotton balls and pads to avoid eardrum injury.
Step #7: Repeat your pet’s ear cleaning if necessary
Depending on your pet’s ear cleanliness level, you may need to repeat the cleaning process to remove all the debris. Wipe away all yellow, brown, or black material.
Step #8: Reward your pet
After successfully cleaning your pet’s ears, reward them with plenty of praise and high-value treats. Positive reinforcement helps your pet make a positive association with ear cleaning, making future sessions easier for you and them.
Step #9: Make ear cleanings part of your pet’s grooming routine

Ear cleaning should be a regular part of your pet’s grooming routine. Depending on your pet’s breed, health concerns, and ear anatomy, you may need to clean their ears weekly, biweekly, or monthly. Consult our veterinarian for personalized recommendations based on your pet’s specific needs.
By following these step-by-step instructions, you can ensure that your pet’s ears remain clean, healthy, and free from discomfort. If your pet’s ears are red or are emitting excessive discharge or a foul odor, schedule an appointment with our Animal Medical Hospital of Naples team.


Leave A Comment